Six Tips to Winterize Your Backyard
If you haven’t already done so, it’s time to prepare your outdoor living space for the winter season. Cold, damp, and snowy conditions can damage your outdoor investment. Winterizing your backyard will preserve your investments and ensure they’re available for use season after season. Before you hibernate for the winter, here are six tips to get your outdoor living space ready for the colder side of Mother Nature.
1. Bring in Your Cushions
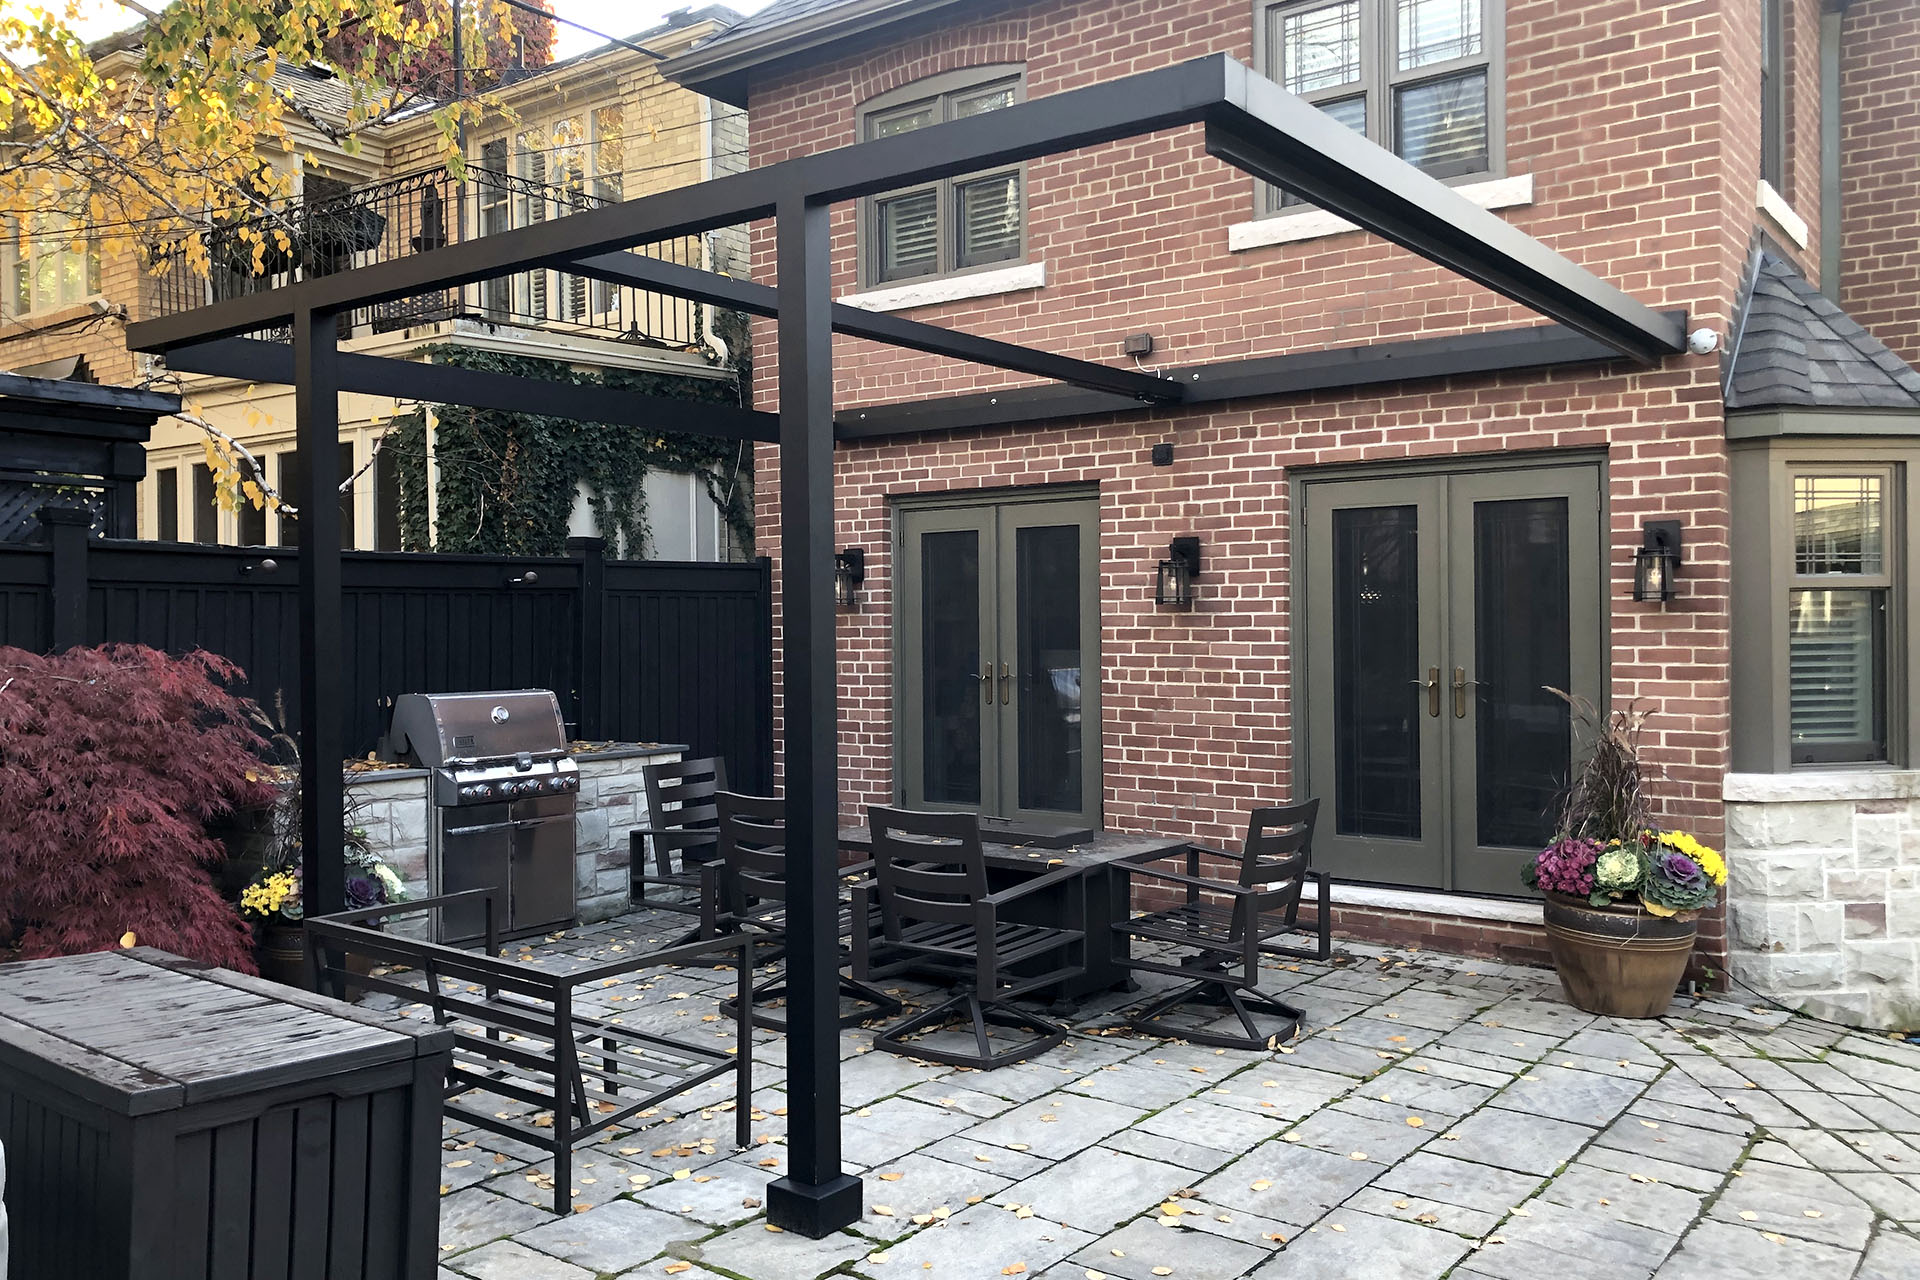
During the off-season, it’s essential to appropriately store your outdoor cushions and upholstery. Although they are manufactured to withstand the elements, they are still susceptible to mold and mildew. Store in a cool and dry environment, and make sure the cushions are dry before putting them away. Good air circulation will prevent moisture from forming. Keeping the cushions off the ground will also help ensure that they are not infested with unwanted pests.
2. Cover or Store Your Furniture
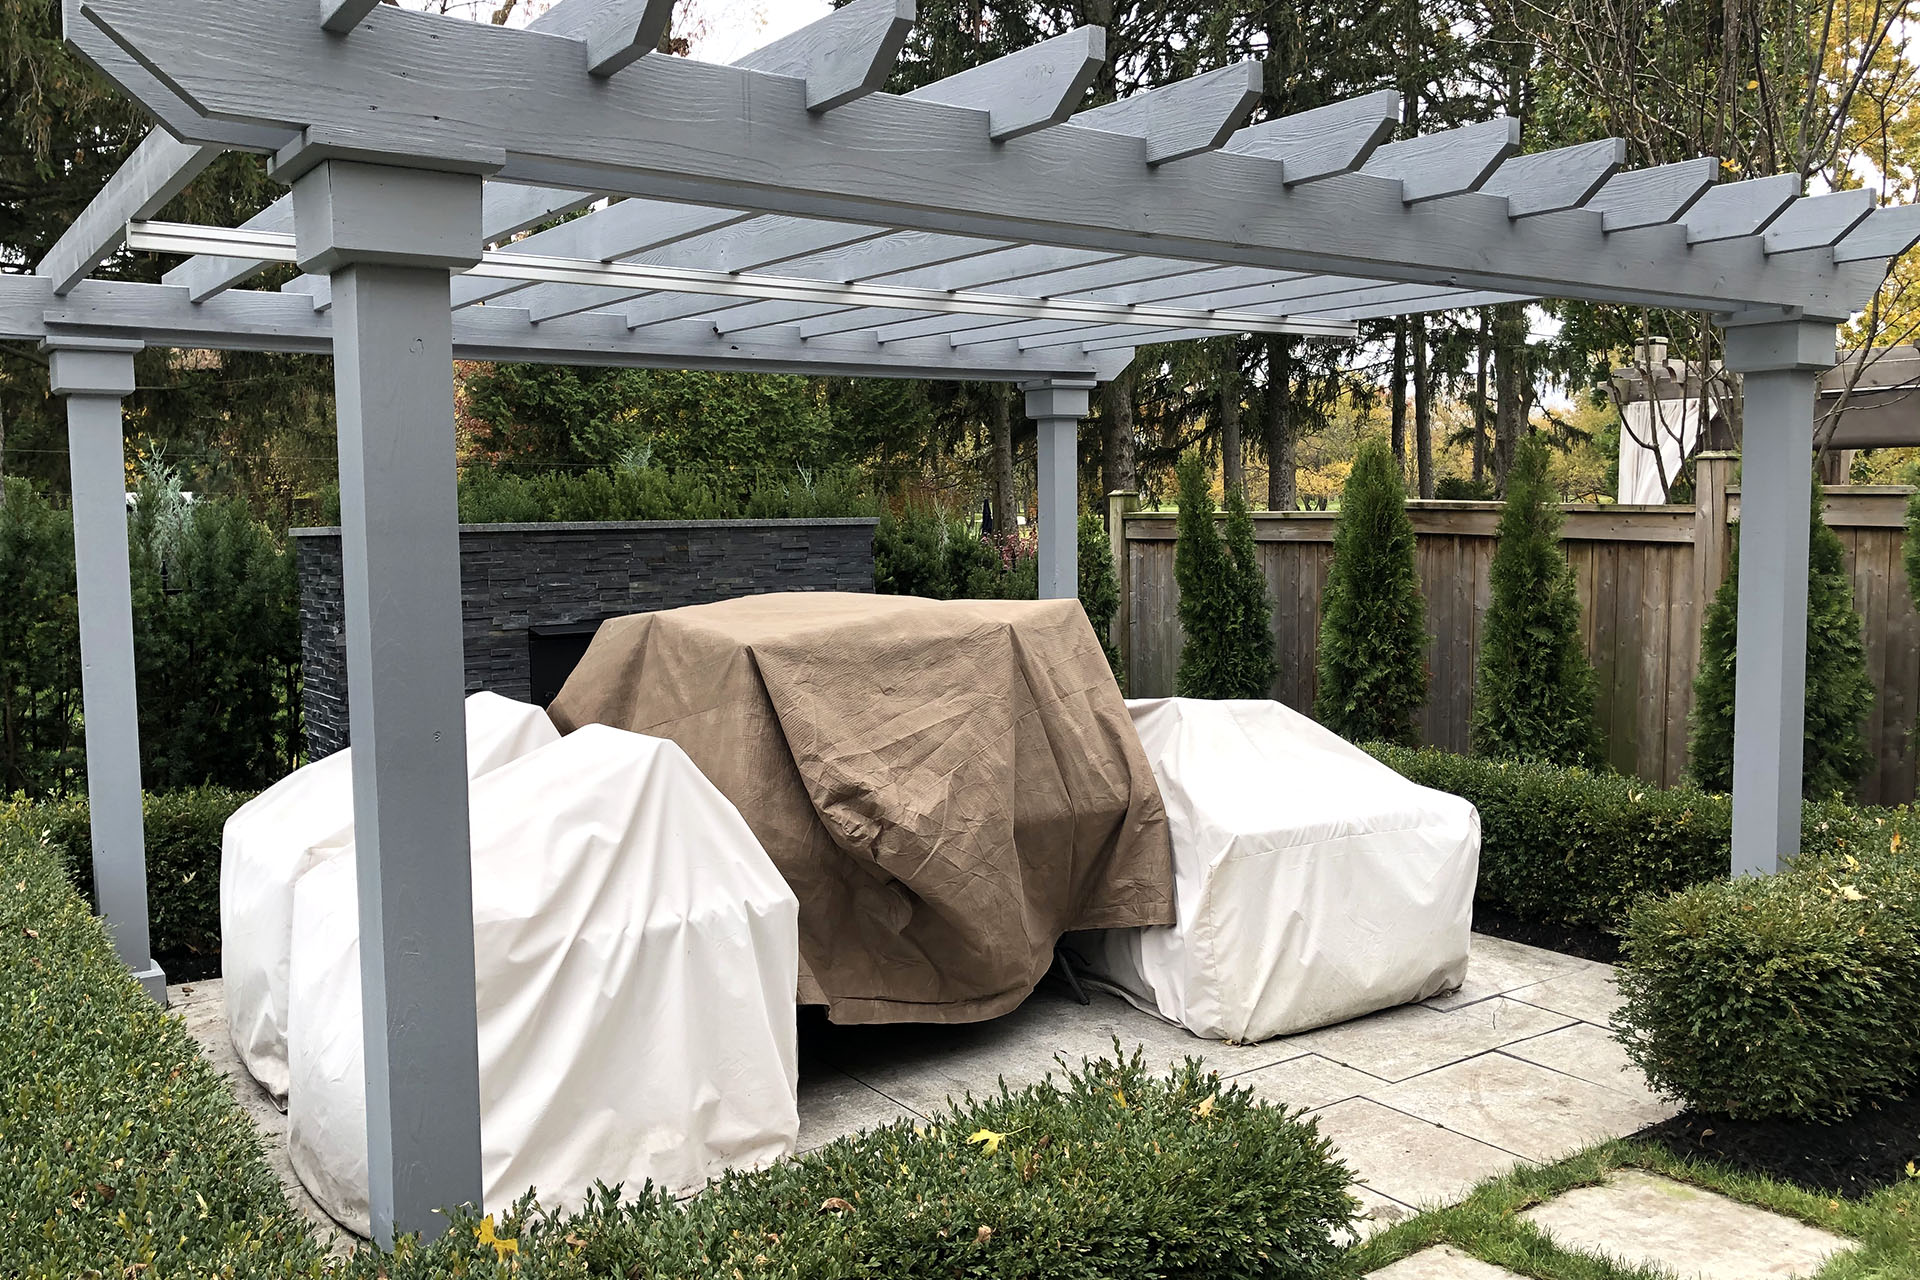
Keeping your outdoor furniture protected is an important aspect of winter preparations. Winter can wreak havoc on your patio furniture depending on the material. Plastic can become brittle and crack, while others may warp and rust. In the best-case scenario, you would cover and store your patio furniture in a shed or garage. But as most pieces are large and storage can be limited, using fitted covers or a tarp will help also protect your investment pieces.
3. Check the Deck & Wood Structures
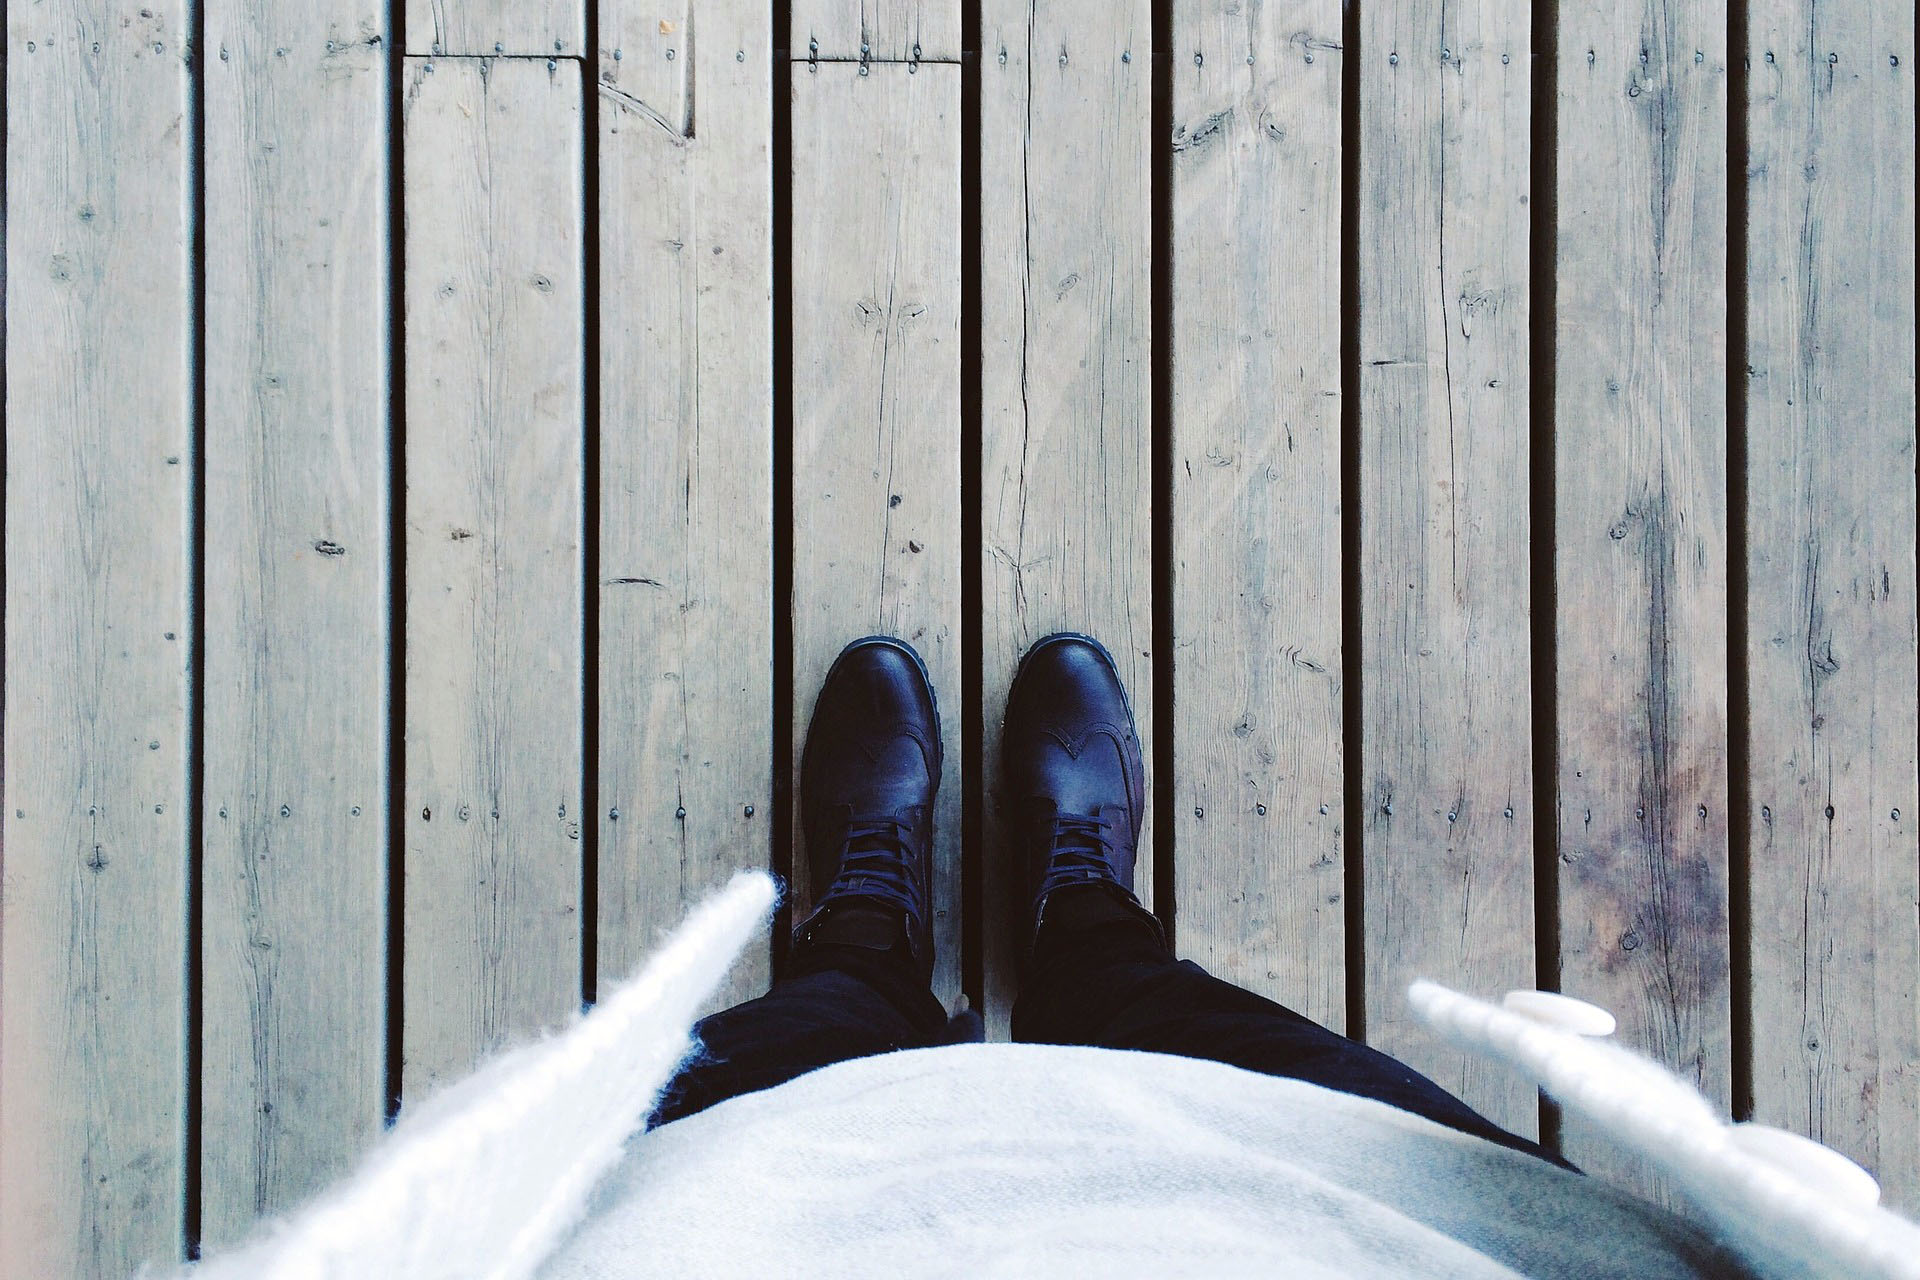
As part of the yearly routine, do a maintenance check on your deck, patio, and structures. Start by sweeping the deck of all debris and inspect the surface and any structures for peeling, weak spots, rot, mildew, and loose nails and screws. Once all problem areas have been identified, treat them accordingly. Applying a protective finish will further protect the deck from the damaging effects throughout the seasons. It will help prevent moisture penetration which ultimately leads to rot. There is a variety of wood finishes that offer protection and will complement any outdoor design.
4. Clean the Grill
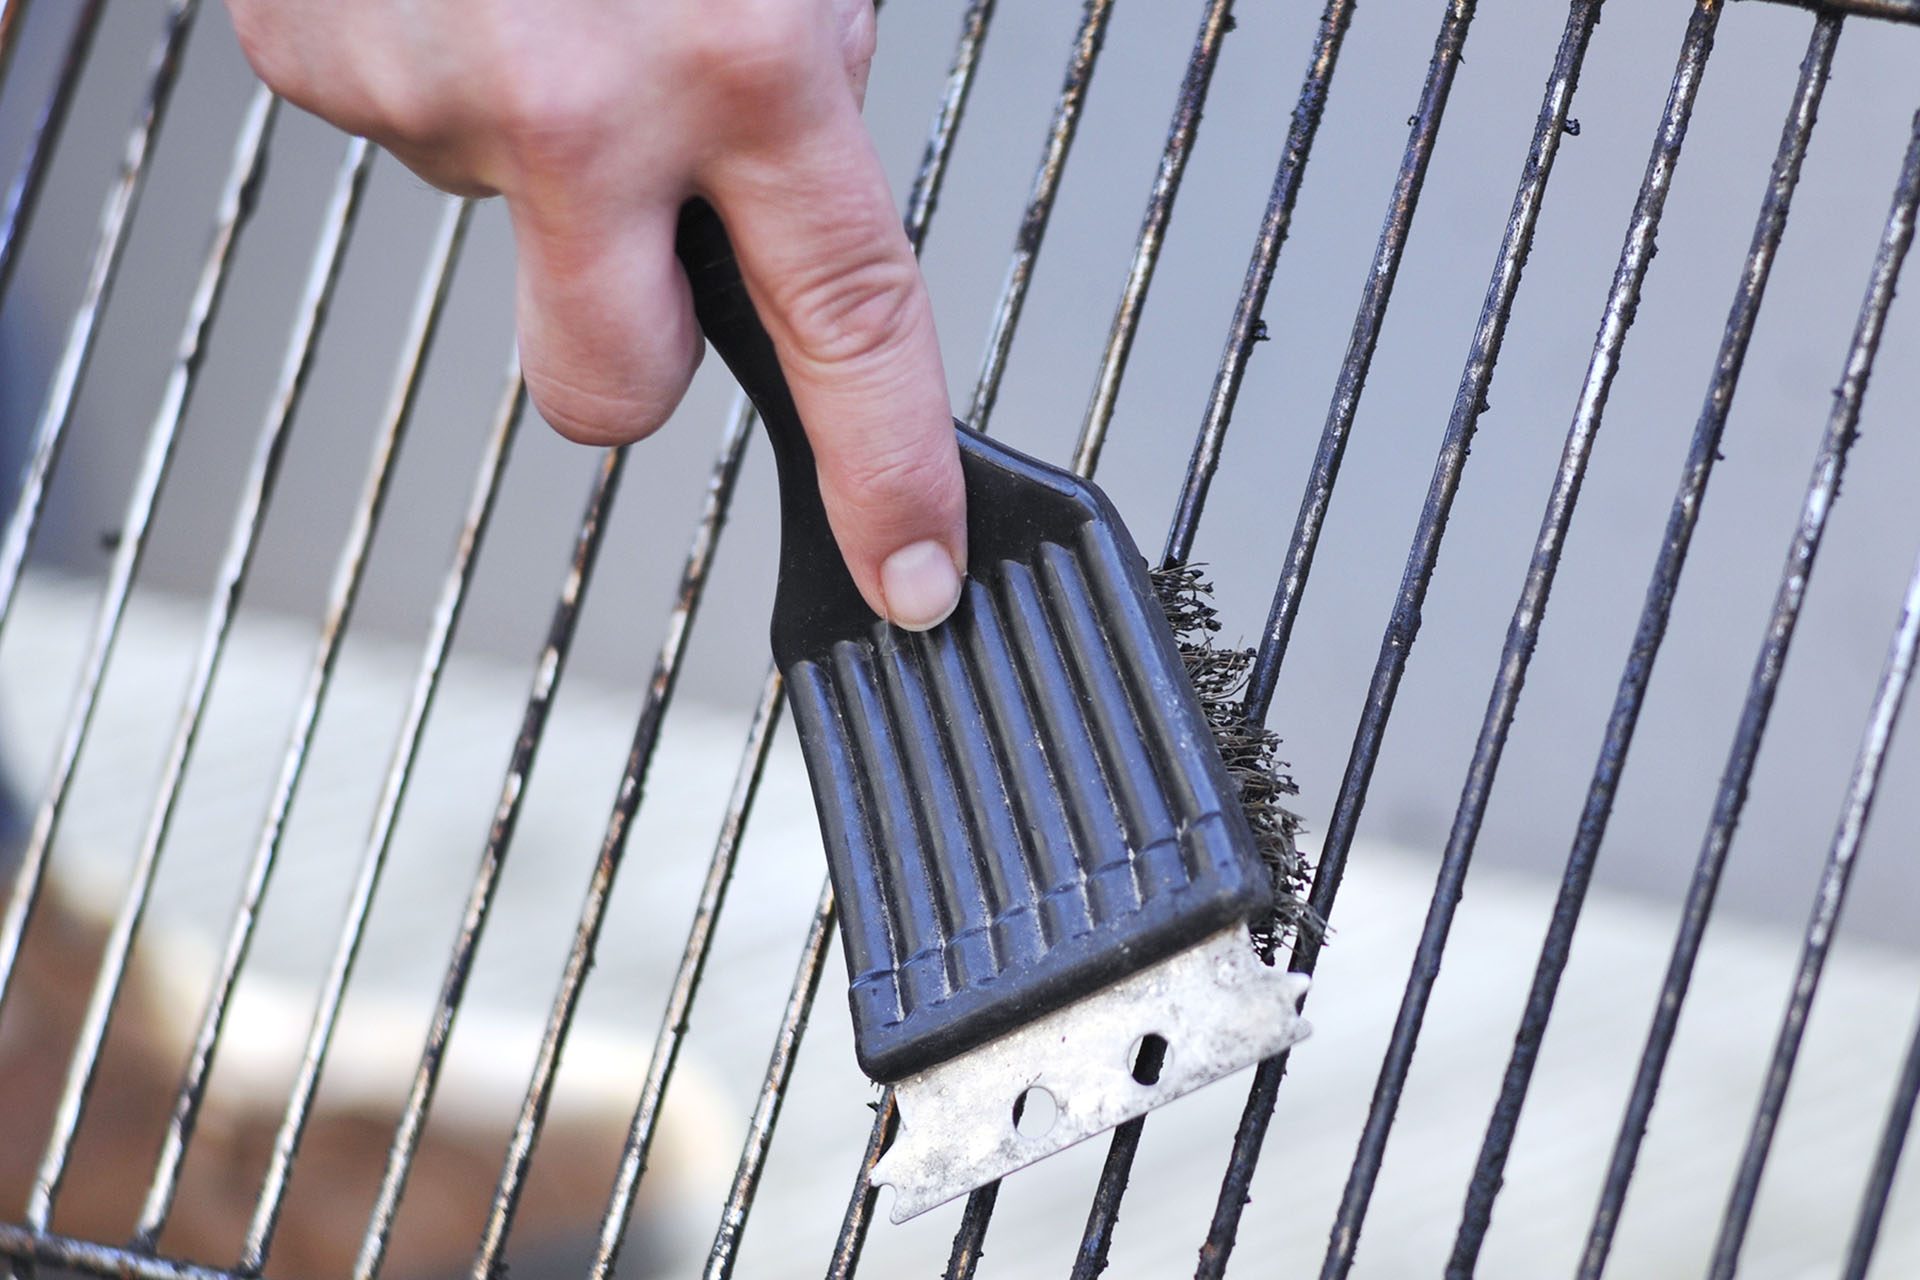
If grilling in snow boots isn’t your thing, then it’s time to winterize your barbeque. To pests such as rats and mice, an unused grill becomes the perfect home with leftovers from your summer meals. Removing grease and food particles from the grill will deter unwelcomed wildlife from settling in. Start by burning off the residue from the grates and brush/scrape them clean with the proper tools for the type of grill grate you have. This may be the traditional wire brushes or a soft bristle. After the grill has cooled, you can use soapy water or a commercial product to get rid of the caked-on food that has built up. It’s also a great opportunity to clean the outside of your barbeque. Once your grill is completely dried, drape with a protective cover. If storing a grill indoors, make sure the propane tank is removed. When storing outside, ensure that it’s protected from strong winds that can knock it over.
5. Store Your Canopy
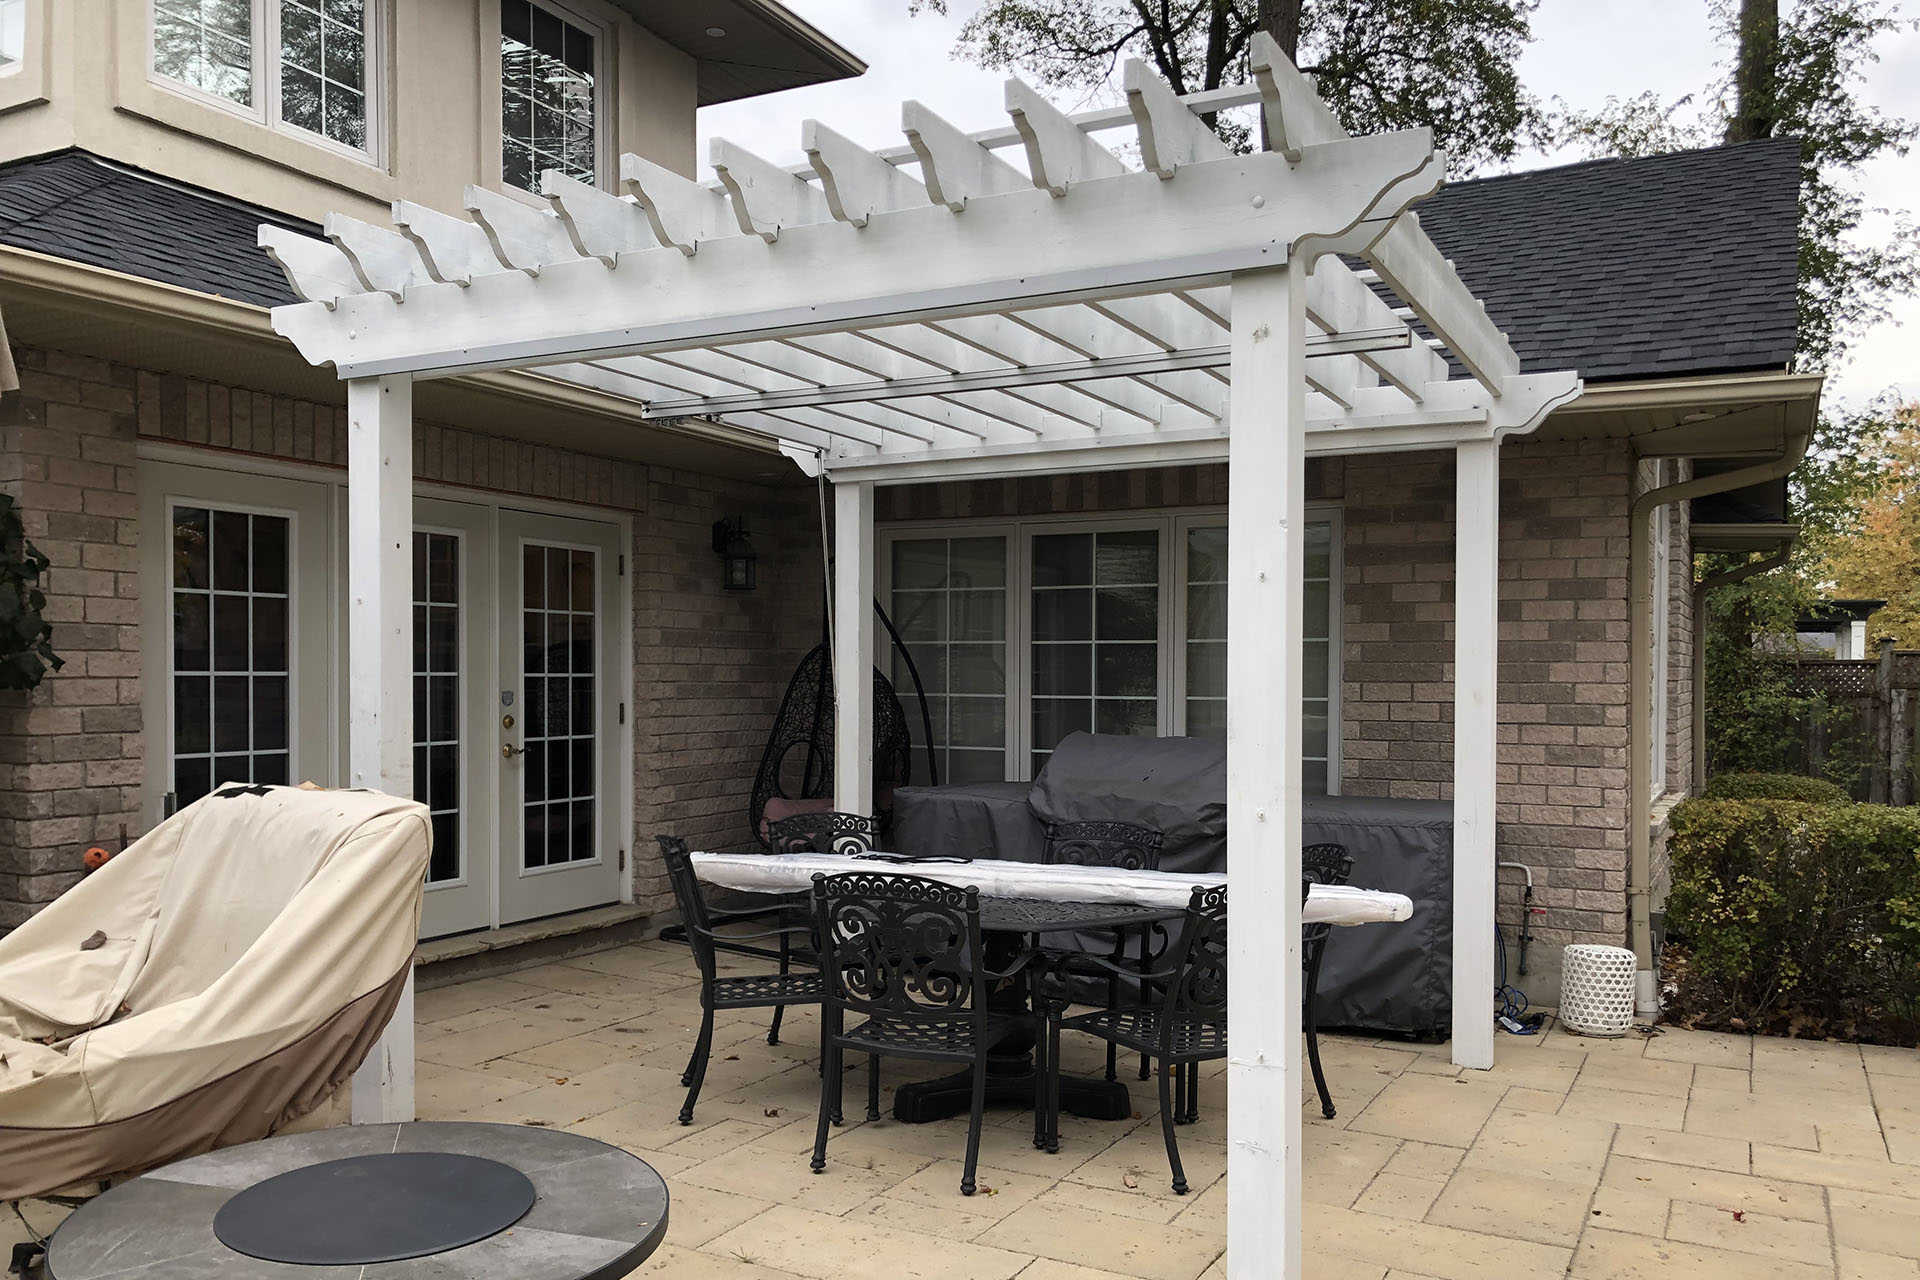
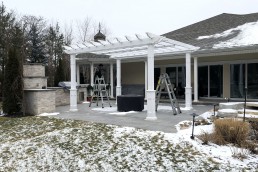
What goes up, must come down. If you have a ShadeFX retractable shade, it’s time to grab that ladder and storage bag. As these canopies are not designed and engineered for snow load, it is strongly recommended that they are dismounted and stored away during the winter. Luckily, this is a quick and easy exercise. No tools are required, and the drive beam and stabilizers remain in place. Before removing the canopy, do a quick inspection to ensure that the canopy runs smoothly along the track. This will ensure the canopy is working when reattaching in the spring.
Generally, there are three simple steps to dismount the shade: retract the canopy, lift the G-clip, hold the wing, and release. Continue these three steps until the fabric has been removed. From there, you can take the opportunity to brush off any loose dirt and debris. For proper storage, it is recommended to ensure the fabric is dry, folded in a wrinkle-free manner, and placed in a dry location. Similar to outdoor cushions, retractable shades are susceptible to mold and mildew. Avoid storing the canopy on the ground as pests can nest during the colder months.
6. Close the Pool
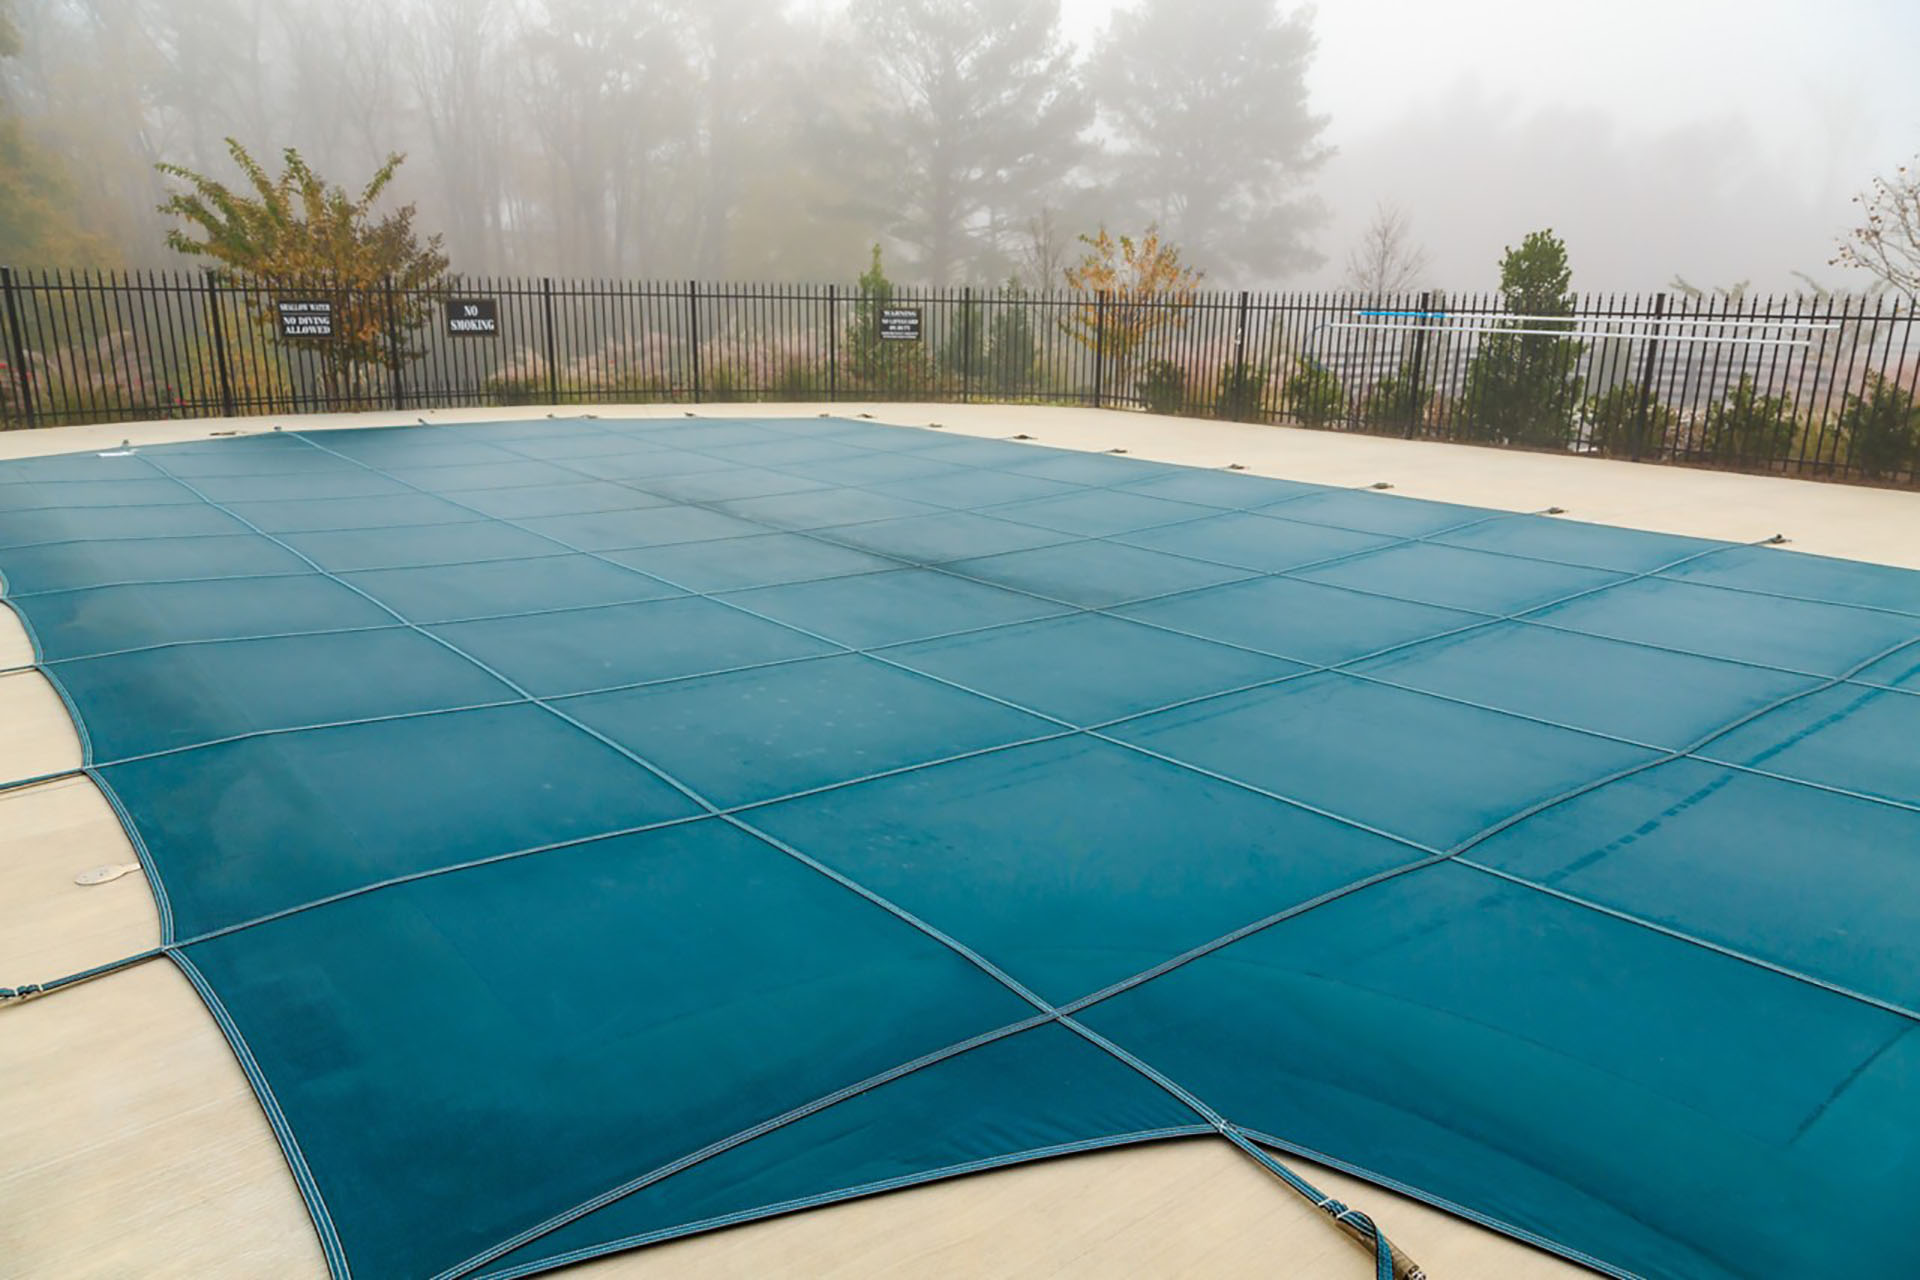
It’s time to say goodbye to those splashing summer days and winterize the swimming pool. Common winter threats are cracked sides, busted pipes, and chemical imbalance. These are problems that can lead to a high price tag to fix. Before closing up, thoroughly clean your pool from top to bottom and remove all dirt and debris. Next, check the pH and alkaline levels, calcium hardness, and pool sanitizers to balance the chemicals. Lower the pool levels, clear the pump and filter, remove any ladders and handrails and finally, use an appropriate pool cover. Of course, you can also skip the hassle and call your local pool company.
Ultimately, spending the time and effort to protect your patio and outdoor investments will keep them looking their best. It will also prevent any early replacements while allowing you to quickly start using your space as soon as temperatures rise.
Prefer to have our team handle the canopy winterization? Ask us about our take-down service.
Retractable Solutions for Outdoor Spaces
Please complete the form below to download our free eBrochure.
Price List included
Related Posts
February 18, 2019
Never Too Early to Get Started – Part II
November 12, 2018
Never Too Early to Get Started
January 6, 2014
Create the Perfect Outdoor Space with ShadeFX in 2014
December 16, 2012
